


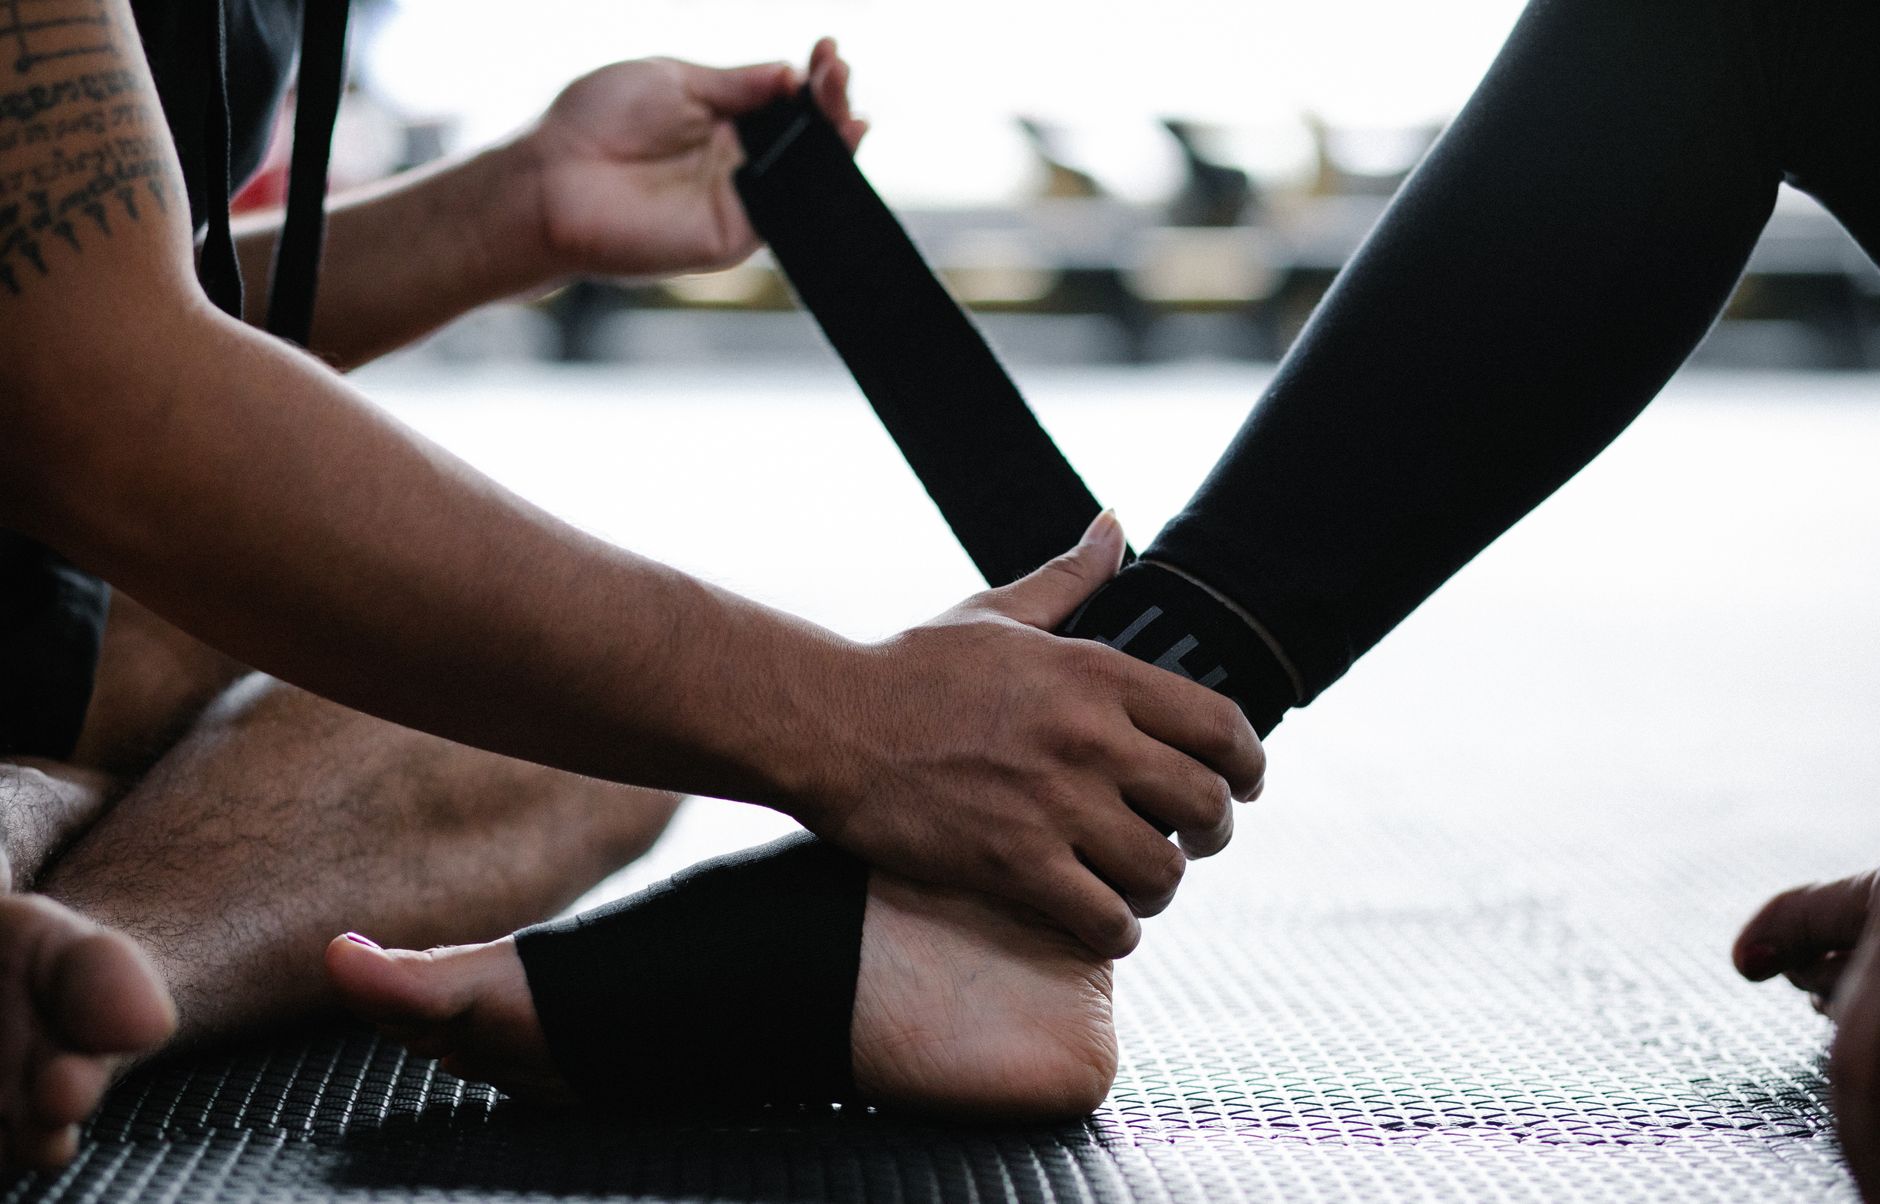
Essential Injury Rehab Tools for At-Home Recovery
If your rehab plan depends on perfect clinic access, expensive machines, or waiting until pain disappears, progress usually stalls. The right injury rehab tools let you restore strength, range of motion, and confidence at home with enough precision to actually move the needle.
Most injuries do not need a fancy setup; they need graded loading, smart symptom monitoring, and a few pieces of equipment that make progression easy. For athletes, general clients, and coaches, the best home rehab kit is built around four jobs: reduce threat, improve movement options, reload tissue, and return to sport or training without guessing. That is where resistance bands, practical mobility gear, and well-chosen recovery equipment earn their keep. This guide breaks down what matters most, what is overrated, and the exact protocols you can use today.
1. Start With Principles, Not Gadgets
Load tolerance beats passive treatment
The biggest rehab mistake at home is buying tools that only feel good for 10 minutes. Tissue capacity improves when you dose stress appropriately. For tendons, muscle strains, and many joint irritations, research consistently supports progressive loading over total rest once serious pathology is ruled out. That means your equipment should help you move from easy to hard in small, repeatable steps.
A simple pain-monitoring rule works well: keep exercise discomfort at 0-3/10 during the session, and make sure symptoms return to baseline by the next morning. If pain jumps above that, your load, range, speed, or volume is too aggressive. If pain stays at zero forever, you may not be providing enough stimulus to rebuild strength.
Buy tools that solve progression problems
Before you buy anything, ask one question: does this tool let me scale difficulty with precision? A long loop band can progress rows from 15 pounds of tension to 40-plus depending on setup. A step platform can turn a bodyweight split squat into a controlled eccentric rehab exercise. A slant board can make ankle and knee loading more tolerable by changing joint angles.
That is the same logic we use in intelligent training progressions. If you want a broader framework for scaling stress over time, read this guide to progressive overload for longevity. The best home setup is not the one with the most pieces; it is the one that makes the next 2 weeks of rehab obvious.
- Tier 1: long resistance band, mini band, foam roller, massage ball
- Tier 2: balance pad, yoga block, sliders, adjustable step
- Tier 3: light dumbbells, door anchor, slant board, compression wrap
Practical rehab rule: if symptoms are not worse 24 hours later, the dosage was probably appropriate; if they are, reduce range, tempo, or total volume before abandoning the exercise.
2. Resistance Bands: The Highest-Value Injury Rehab Tools
Why bands work so well early and mid-rehab
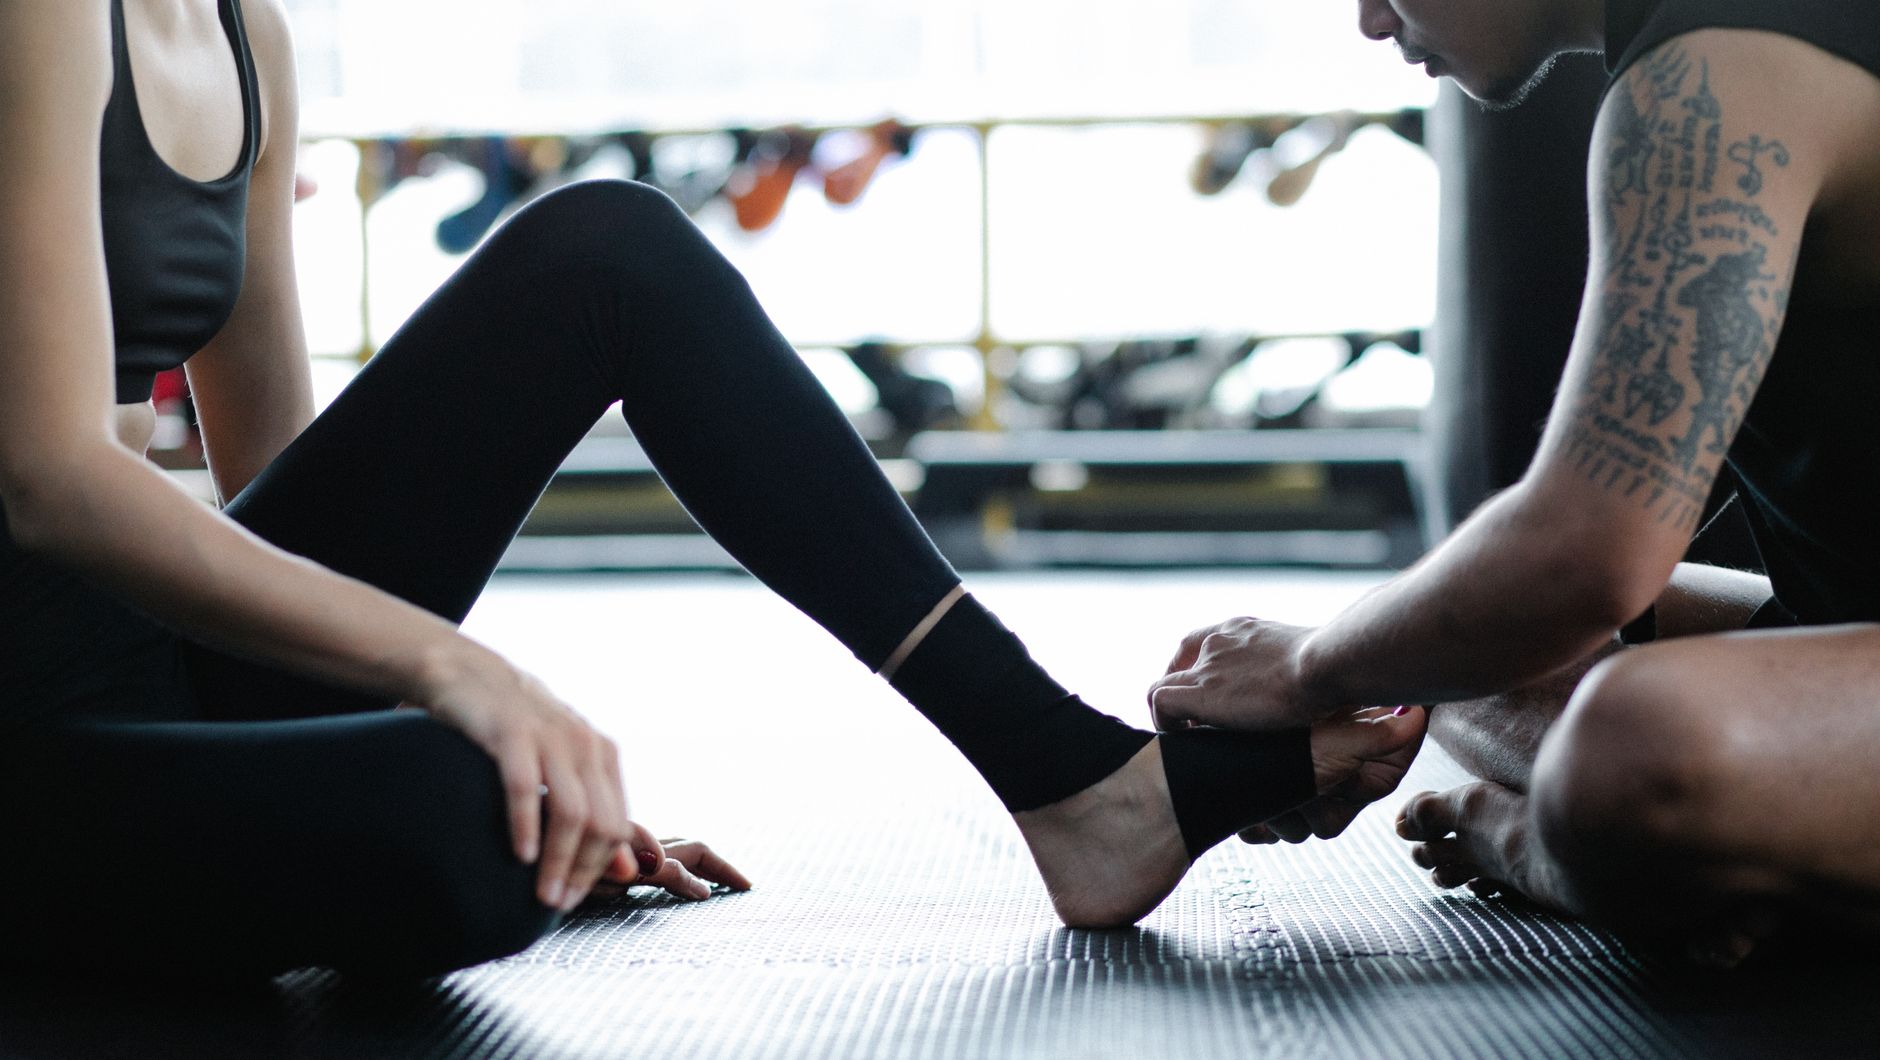
Resistance bands are the most versatile injury rehab tools because they let you load tissues before heavier free weights are tolerated. They work especially well for shoulder rehab, ankle strengthening, hamstring reintroduction, glute med work, and blood-flow oriented accessory training. Bands also create accommodating resistance, which often feels better at painful joint angles because tension changes across the range.
Use bands for 2-4 sets of 12-20 reps when the goal is blood flow, motor control, and light strength. For analgesic isometrics, hold the hardest tolerable position for 30-45 seconds x 4-5 sets with 45-60 seconds rest. Those numbers are especially useful for patellar tendon irritation, rotator cuff work, and some calf or Achilles symptoms.
The best band setup and go-to exercises
Buy three types: a long loop band, a mini loop band, and a light tube band with handles or a door anchor. That covers most home rehab. For shoulder pain, do band external rotations, rows, and face pulls. For hip and knee issues, use lateral walks, terminal knee extensions, and Spanish squat setups. For ankles, banded inversion, eversion, plantarflexion, and dorsiflexion are staples.
A sample lower-body reload circuit: mini-band lateral walk 2 x 12 steps each way, terminal knee extension 3 x 15, assisted split squat 3 x 8 each leg, standing calf raise 3 x 15-20. Pair that with smart warm-up work from this dynamic warm-up for strength training. Recovery also improves when sleep and nutrition are handled well, so this overview on sleep and performance recovery is worth applying alongside the exercises.
3. Mobility Gear That Restores Motion Without Irritating Tissue
Foam roller and massage ball: use them as primers, not cures
Mobility gear helps most when it improves tolerance to the work that matters next. A foam roller can reduce perceived stiffness and temporarily improve range of motion. A massage ball is better for smaller regions like the plantar fascia, pec minor area, glutes, or upper back. Both are useful, but neither replaces strengthening at end range.
Keep dosage tight. Roll for 30-60 seconds per area, then immediately follow with loaded movement. Example: foam roll calves for 45 seconds, then perform ankle rocks 2 x 8 and slow calf raises 3 x 12. If you spend 15 minutes rolling and skip loading, you have done recovery theater. For a performance-focused breakdown, see foam rolling for performance and recovery.
Slant board, yoga blocks, and sliders create better positions
A slant board is underrated for ankle stiffness, Achilles rehab, and quad-dominant knee loading. Elevating the heel often lets people squat deeper or perform split squats with less compensation. Start with heel-elevated squats 3 x 8-10 at a controlled 3-second lowering phase. For ankle mobility, perform knee-over-toe rocks 2 x 10 and pause the front position for 2 seconds.
Yoga blocks and sliders solve progression issues. Blocks shorten range when a deep position is painful. Sliders are excellent for hamstring eccentrics, adductor slides, and shoulder control on the floor. A clean sequence for hamstring rehab: bridge walkouts 2 x 6, slider eccentrics 3 x 5, then supported single-leg RDLs 3 x 6 each side. These tools are cheap, portable, and far more useful than many gimmicky stretching devices.
4. Lower-Body Rehab Equipment for Balance, Foot, and Knee Control
Balance pads build proprioception after ankle and knee issues
After ankle sprains and lower-limb injuries, balance and perturbation work matter because the problem is rarely just strength. You also need positional awareness and reflexive control. Systematic reviews on ankle rehab consistently support balance training for improving function and reducing recurrence risk. A balance pad gives you enough instability to challenge the foot, ankle, and hip without making the exercise random.
Start simple: single-leg balance 3 x 20-30 seconds, eyes forward, tripod foot pressure. Progress to head turns, reaches, or light catches. Then move to single-leg RDL reaches 3 x 6-8 and step-downs 3 x 6. Keep the knee tracking over the middle toes and the arch active. If the movement becomes sloppy, the pad is too unstable or the set is too long.
A step platform and a backpack can replace half a clinic
A sturdy aerobic step, stairs, or low box is one of the best pieces of rehab exercise equipment for at home use. You can train step-ups, step-downs, split squat depth control, calf loading, and controlled eccentrics. A backpack loaded with books or plates becomes an adjustable external load when dumbbells are not available.
For patellofemoral pain or post-ankle rehab, try this circuit two to three times per week: step-up 3 x 8, eccentric step-down 3 x 6, heel-elevated split squat 3 x 8, single-leg calf raise 3 x 12-15. Tempo is your secret weapon. A 3-1-1 tempo can make light loads effective without irritating tissue the way heavier, faster reps sometimes do.
5. Upper-Body and Tendon-Friendly Tools That Actually Progress
Light dumbbells and isometrics cover most shoulder and elbow needs
For shoulder, elbow, and wrist rehab, light dumbbells in the 2.5-15 lb range are often enough for the first phase. Use them for scaption raises, side-lying external rotation, wrist extension, pronation-supination, and slow controlled rows. Heavy loading has its place later, but early progress usually comes from cleaner reps, higher tolerance, and gradually increasing time under tension.
When symptoms are irritable, isometrics are often the bridge. For lateral elbow pain, hold a wrist extension position for 30-45 seconds x 5. For rotator cuff symptoms, use band or dumbbell external rotation isometrics at a pain-tolerable angle. For tendon-specific progression ideas, coaches and lifters should review this tendon pain loading guide and pair it with adequate protein intake from this recovery nutrition resource.
Door anchors, towels, and grip tools add useful variation
A door anchor turns bands into rows, pulldowns, adduction work, Pallof presses, and assisted mobility drills. That matters because upper-body rehab often stalls when angles stay too repetitive. A towel can also become equipment: towel isometrics for neck or hamstring work, self-resisted rows, and grip loading for elbow rehab are all easy options.
Grip trainers are optional, not essential. They can help late-stage forearm or hand rehab, but they should not replace extensors, pronation-supination work, or full-chain loading. A smarter sequence for elbow rehab is wrist extensor isometric hold, pronation-supination 3 x 12, band row 3 x 15, then carry variations for 20-40 meters. Build the chain, not just the sore spot.
6. Recovery Equipment That Helps, and What Is Overrated
Compression, heat, and ice are support tools, not the program
Good recovery equipment can improve comfort and compliance, but it should support loading rather than replace it. Heat is useful before movement when stiffness is the main barrier. Use it for 5-10 minutes, then train. Compression sleeves or wraps can help with swelling management and provide useful feedback around a joint during activity.
Ice is best viewed as a symptom-management tool. If it helps pain enough to let you walk, sleep, or complete rehab later, use it for 10-15 minutes. But do not mistake temporary numbness for tissue improvement. Your progress markers are better range, more reps, more load, better next-day response, and confidence returning to normal movement patterns.
Massage guns and TENS: helpful for some, unnecessary for most
Massage guns can reduce the sensation of tightness and help some athletes tolerate warm-ups better. Keep them off acutely injured tissue, obvious bruising, or highly irritated bony areas. Use 30-60 seconds on surrounding muscle groups, then move into active drills. TENS can reduce pain perception for some users, but pain relief without improved function is not enough.
If your budget is tight, buy loading tools before passive ones. A smart purchase order looks like this: band set, ball or roller, step or box, balance pad, then optional recovery items. The best hack in rehab is boring but elite: spend more money on things that let you train more consistently, and less on devices that only make you feel “worked on.”
FAQ: Choosing and Using At-Home Injury Rehab Tools
Can I rehab an injury at home without seeing a professional?
Sometimes yes, but not always. Mild overuse issues, minor strains, and post-flare management often respond well to smart loading, especially if symptoms are improving weekly. Home rehab is most effective when the diagnosis is reasonably clear and you can reproduce progress with objective markers like reps, range, walking tolerance, or strength.
Get assessed quickly if you have major swelling, night pain, numbness, loss of strength, instability, inability to bear weight, or symptoms that keep worsening. Home equipment is powerful, but it does not replace a good diagnosis.
What is the minimum budget for useful injury rehab tools?
You can build a highly effective starter kit for relatively little money. The best first buys are one long band, one mini band, a lacrosse ball or massage ball, and a foam roller. Add a step or use stairs, then a balance pad if lower-body rehab is part of your plan.
That setup covers most ankle, knee, hip, shoulder, and elbow basics. Fancy devices become relevant only after your actual progression bottlenecks are obvious.
How often should I use mobility gear and recovery equipment?
Use mobility gear as needed before training and lightly on recovery days. Most people do well with 5-10 minutes total, not 30. Tissue quality changes come from repeated exposure to good movement and loading, not marathon soft-tissue sessions.
Recovery equipment like heat, compression, or massage tools should also be short and strategic. If it improves your next session, keep it. If it only becomes a ritual with no measurable benefit, cut it.
How do I know whether a tool is helping or just masking symptoms?
Track four things: pain during exercise, pain the next morning, total work completed, and confidence in the movement. If a tool reduces pain but your capacity never improves, it is probably masking symptoms. If it lets you do more quality work with good next-day tolerance, it is helping.
This is why a simple log is powerful. Write down exercises, sets, reps, load, and 24-hour response. The data will tell you which tools earn their place.
Conclusion
The best injury rehab tools are not the flashiest; they are the ones that let you load tissue progressively, restore movement without fear, and measure improvement week to week. For most people, that means a small toolkit built around resistance bands, practical mobility gear, a few lower-body balance and loading options, and only enough recovery equipment to improve comfort and consistency.
If you want rehab content that turns evidence into better training decisions, keep learning through Elite Catalyst at ElitePTS. Start simple, track symptoms honestly, and progress the basics with intent. That is how at-home rehab stops being random and starts producing real, repeatable gains.