



Foam Rolling 101: A Beginner’s Guide to Pain Relief
Foam rolling is one of the simplest recovery tools you can use, but most people either rush through it or go so hard they make muscle soreness feel worse. Used well, foam rolling can reduce perceived tightness, improve short-term mobility, and help you train with less pain and better movement quality.
For beginners, the confusion usually starts with the claims. Some people call foam rolling a miracle; others say it does nothing. The truth sits in the middle. Foam rolling, often grouped under myofascial release or self-myofascial release, is not magic and it is not a substitute for smart programming, sleep, or load management. What it can do is create a useful short-term change in how your body feels and moves. Research consistently shows small-to-moderate improvements in range of motion and reductions in perceived soreness, especially after hard training. That makes it a practical tool for lifters, runners, field athletes, and general clients who want a fast recovery habit that fits into real life. The key is using the right pressure, the right timing, and the right expectations.
What Foam Rolling Really Does
It does not “break up knots” the way social media says
A common myth is that foam rolling physically smashes adhesions, breaks scar tissue apart, or melts fascia. That is an oversimplification. Human tissue is resilient, and a basic roller does not have the mechanical force to permanently reshape muscle or fascia in a few passes.
What you are more likely changing is pain sensitivity, stretch tolerance, and local tissue pressure. In plain language, your nervous system becomes more comfortable with the position, the area gets a bit more blood flow, and movement feels easier for a short window. That is still useful, especially before training or after high-volume work.
The benefit is mostly neurological, with a practical performance payoff
Multiple reviews have found that self-myofascial release can improve range of motion without the temporary strength loss sometimes seen with long static stretching. That matters if you want to feel looser before squats, sprinting, or overhead work without dulling output.
Foam rolling also seems to reduce the perception of discomfort after hard sessions. It will not erase tissue damage or speed adaptation overnight, but if it helps you move better tomorrow and keep quality high in your next session, it has real training value.
Current research suggests foam rolling can improve flexibility and reduce post-exercise soreness with little to no negative effect on strength or power when sessions are brief and targeted.
Foam Rolling for Muscle Soreness and Pain Relief
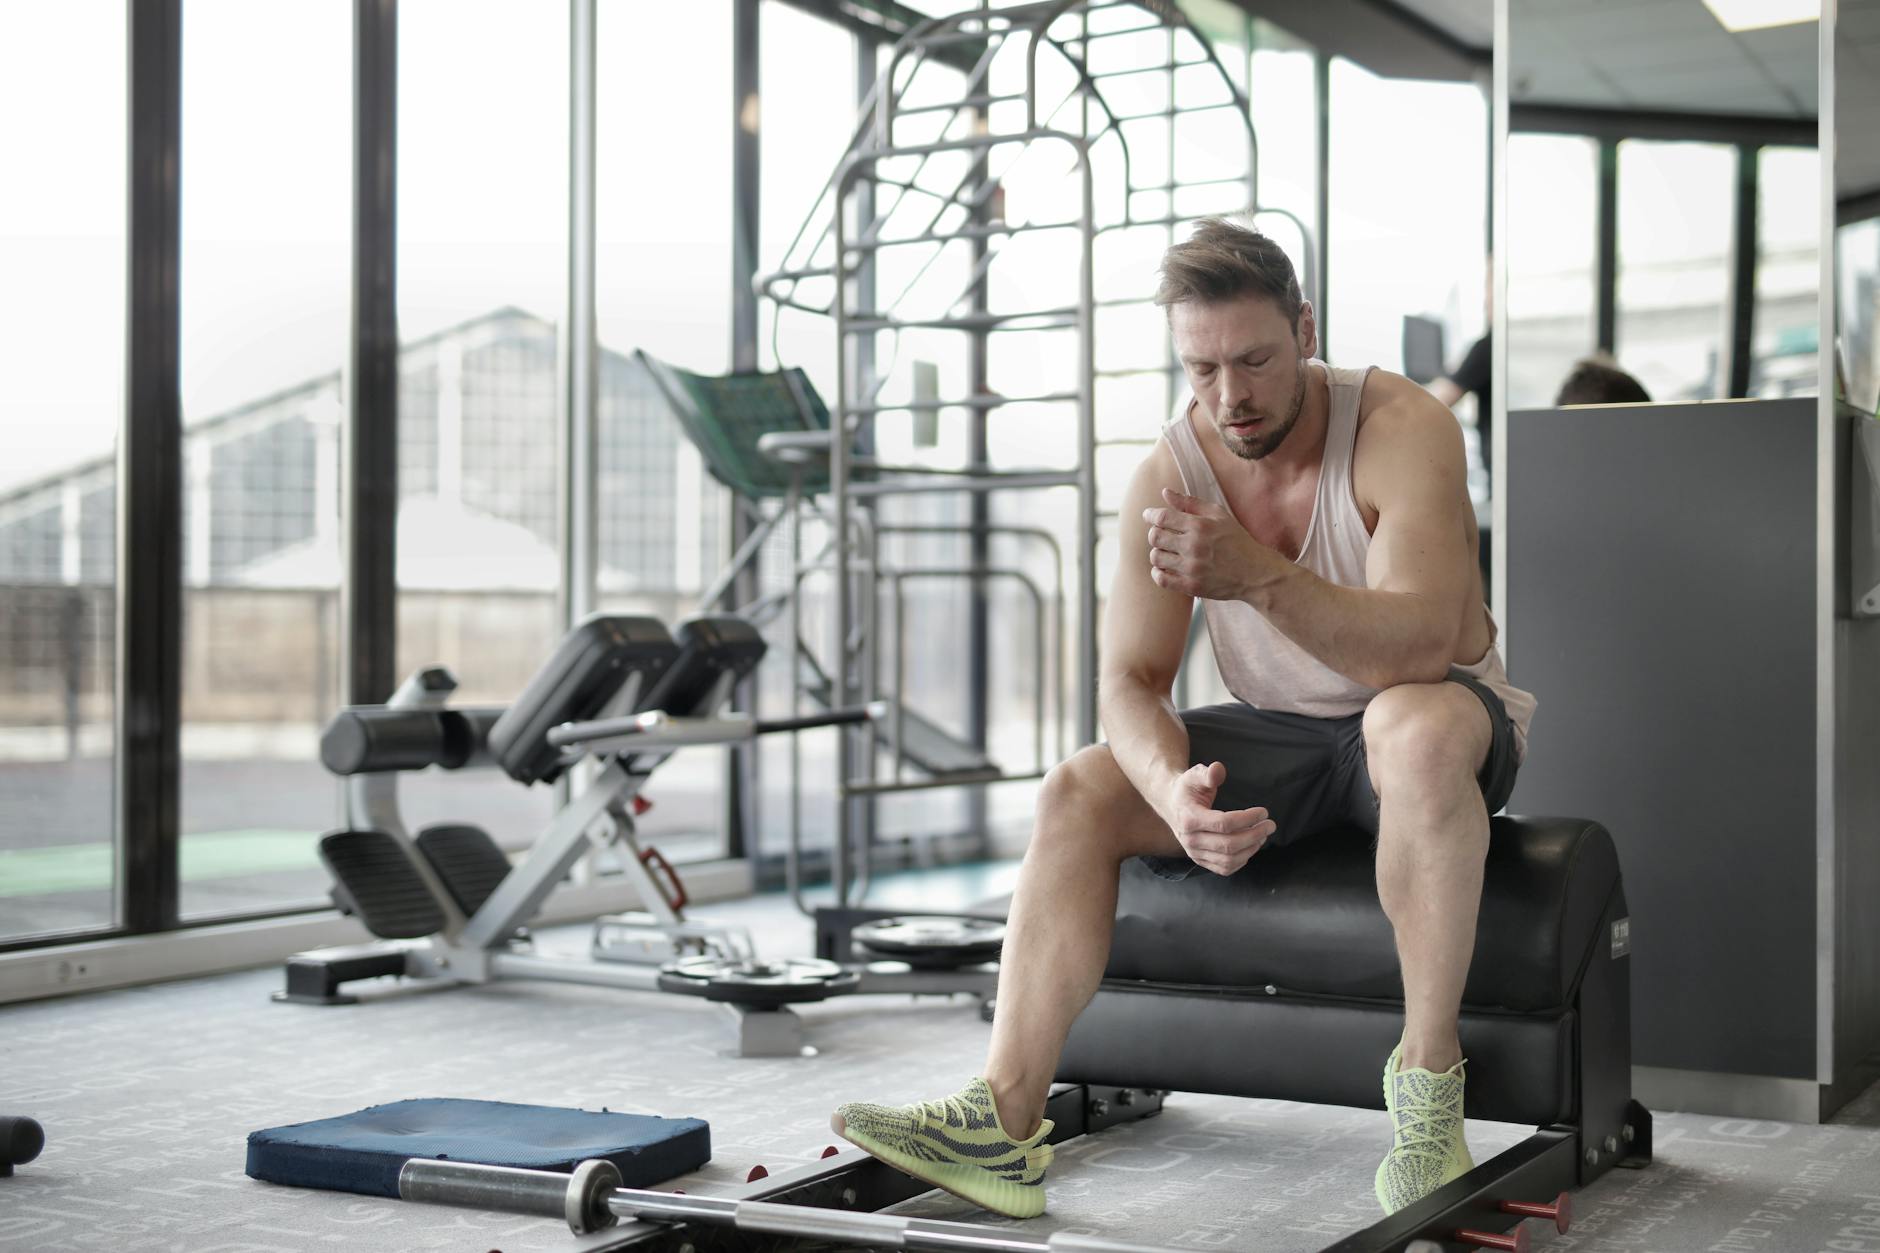
How it helps delayed onset muscle soreness
Delayed onset muscle soreness usually peaks 24 to 72 hours after unfamiliar or high-volume training, especially eccentric work like split squats, downhill running, or heavy negatives. Foam rolling will not stop DOMS completely, but studies have shown it can reduce soreness ratings and improve how well athletes move in the days after training.
For beginners, that matters because soreness often becomes a consistency problem. If your quads are so stiff that your next session turns sloppy, foam rolling can act like a bridge: not a cure, but a way to restore enough comfort and mobility to train well again. If you are unsure whether you are dealing with normal soreness or something more serious, read how to tell DOMS from an injury.
Why pain relief often feels immediate
Pain relief from foam rolling usually comes from a short-term drop in threat perception. Pressure stimulates sensory receptors, breathing helps downshift tension, and slow movement over a tender area can make the nervous system less reactive. That is why many people stand up and feel instantly “looser.”
The practical takeaway: use foam rolling to improve the next movement, not as a test of toughness. If a 60-second pass on the calves improves ankle motion and your squat depth feels better, that is a win. If you spend 15 painful minutes grinding one spot and nothing changes, you are wasting recovery resources.
A Beginner Foam Rolling Protocol That Actually Works
Use moderate pressure, slow passes, and relaxed breathing
The sweet spot for pressure is usually 4 to 6 out of 10 on discomfort. You should feel pressure, but you should still be able to breathe normally and relax the area. If you are bracing, holding your breath, or wincing hard, the pressure is too aggressive for useful self-myofascial release.
Move slowly: about 1 to 2 centimeters per second. Fast rolling turns the drill into random friction. Slower passes help you notice whether a spot actually changes. Pair each pass with long exhales through the mouth to reduce tension and avoid turning recovery work into another stressor.
Start with this evidence-based dosage
For most muscle groups, start with 30 to 60 seconds per area, for 1 to 3 rounds. If you are using foam rolling before training, keep the full routine to 5 to 8 minutes. If you are using it after training or on a recovery day, 8 to 12 minutes total is usually enough.
A simple beginner template looks like this:
- Warm-up use: 30-45 seconds per muscle, then perform the movement you want to improve
- Recovery use: 45-60 seconds per muscle, 2 rounds on the sorest areas
- Breathing: 4-6 slow exhales per side
- Progress check: retest the movement right after rolling
If you want a full session flow, pair rolling with a dynamic warm-up instead of replacing it. A good starting point is this dynamic warm-up guide.
The biggest beginner mistakes
Mistake one is doing too much. More pressure and more time do not automatically create more benefit. Past a certain point, you just irritate the area. Mistake two is rolling without a goal. Always connect the drill to a symptom or movement: less calf tightness, better hip extension, easier overhead reach.
Mistake three is treating foam rolling as the fix for everything. If the same area always feels tight, the real issue may be training load, sleep, technique, or weakness in a related joint. Foam rolling is a tool inside the system, not the whole system.
Best Body Areas for Myofascial Release
Lower body: calves, quads, glutes, and adductors
Beginners get the most return from the lower body because these areas commonly affect squatting, lunging, running, and walking mechanics. The calves respond well when ankle dorsiflexion feels limited; quads and adductors are useful targets when deep knee bend or split-stance work feels stiff; glutes can help when hip rotation feels restricted.
Use shorter segments instead of rolling the entire leg endlessly. Example: 45 seconds on the upper calf, 45 seconds on the lower calf, then immediately retest a bodyweight squat or knee-to-wall ankle drill. If range of motion improves, you found a productive area.
Upper body: lats, pecs, and thoracic area
For lifters and desk-bound clients, the upper back and lats are often high-value zones. Rolling the lats can improve overhead reaching for pressing and pull-ups. Gentle pressure around the thoracic area can make extension work feel easier, which helps front rack position, overhead mechanics, and posture under load.
Pecs are trickier with a standard roller, so many people use a ball against a wall instead. Keep the pressure controlled. The goal is not to hunt pain; it is to reduce stiffness enough that the next movement pattern improves.
Areas to avoid or modify
Do not roll directly over joints, the front of the neck, the lower back with excessive extension, or any area with sharp pain, bruising, acute injury, numbness, or radiating symptoms. Beginners often overdo the IT band as well. Instead of grinding the side of the thigh aggressively, focus more on the glutes, quads, and tensor fasciae latae.
If an area is too sensitive for a dense roller, regress the tool. Use a softer roller, reduce bodyweight pressure, or work against a wall. Better results usually come from consistency and tolerable pressure than from “surviving” the hardest tool in the gym.
When to Foam Roll: Before, After, or Off-Days?
Before training: use it to unlock motion, then move
Pre-workout foam rolling works best when you target 2 to 4 areas that directly affect the session. If you are about to squat, hit calves, quads, adductors, and glutes. If you are pressing overhead, try lats and thoracic area. Keep it brief, then follow with active mobility and warm-up sets.
The best hack here is simple: roll, mobilize, load. Do not stop at rolling. If calf work gives you more ankle range, go straight into goblet squats or split squat pulses. That sequence teaches your body to use the new range. For athletes who want a broader recovery plan, see this mobility assessment resource.
After training and on off-days: keep the dose low and targeted
Post-workout foam rolling can be useful when muscle soreness is building or when you need to downshift after a demanding session. The goal here is recovery, not performance prep, so move slower and spend a little longer on the most affected areas. Think 45 to 60 seconds on 4 to 6 muscles, not a full-body 30-minute session.
If you constantly need heavy rolling after every workout, zoom out. Recovery quality depends far more on sleep, nutrition, and programming than on any single tool. Build the basics with better recovery between workouts and stronger sleep habits for muscle recovery, then use foam rolling as an add-on.
FAQ: Foam Rolling Basics
How often should I foam roll?
Most people do well with 3 to 7 short sessions per week. Daily use is fine if the pressure stays moderate and you are not irritating the same tissue repeatedly.
Think frequency over marathon sessions. Five minutes before training or eight minutes on a recovery evening is usually more effective than one long session on Sunday.
Should foam rolling hurt?
No. It can feel intense, but it should stay in the “productive discomfort” zone. Aim for 4 to 6 out of 10, where you can still breathe and relax.
If pain shoots, burns, tingles, or gets worse as you continue, stop. Sharp or radiating symptoms are not normal muscle soreness and should not be forced.
What type of roller should beginners buy?
Start with a medium-density smooth roller. Very hard, ridged rollers are often too aggressive for new users and make good technique harder.
If you want one extra tool, add a lacrosse ball or massage ball for the glutes, pecs, and feet. Use the roller for broad areas and the ball for smaller spots.
Can foam rolling replace stretching or massage?
Not completely. Foam rolling and stretching overlap, but they are not identical. Rolling is often better for quick pain relief and short-term mobility changes; stretching may be better when you want to spend time building tolerance in a specific position.
Massage can be useful too, but it is less accessible and more expensive. For most people, foam rolling is the most practical self-service recovery option because it is cheap, fast, and easy to repeat.
Conclusion: Use Foam Rolling as a Tool, Not a Cure-All
Foam rolling deserves a place in a smart recovery system because it is simple, low-cost, and supported by decent evidence for short-term pain relief, mobility, and reduced muscle soreness. The biggest mistake is expecting more from it than it can deliver. Self-myofascial release does not replace strength work, movement quality, sleep, nutrition, or sensible training loads. What it does do is help you feel and move better right now, which can improve the quality of the work that actually drives long-term progress.
If you are new to foam rolling, keep it targeted: 30 to 60 seconds per area, moderate pressure, slow breathing, then retest the movement that matters. Use it before training to improve range, or after hard sessions to take the edge off soreness. For more evidence-based recovery and performance strategies, explore ElitePTS articles and build a system that turns better decisions into better results.