



The Ultimate Mobility Screening Checklist for Athletes
If you want better performance and fewer training setbacks, a smart mobility screening process beats random stretching every time. The goal is not to collect fancy data; it is to find the few movement limits that change how an athlete squats, sprints, lands, presses, and recovers.
Introduction: Most athletes do not need more mobility everywhere. They need the right amount of range of motion, at the right joints, with enough strength and control to use it under load. That is where a structured mobility screening system earns its value. Done well, it helps coaches identify asymmetries, joint restrictions, pain triggers, and compensations before they become chronic training problems. Done poorly, it becomes entertainment with no transfer to sport. The evidence is clear that no single functional movement test can predict injury on its own, but practical screening can still improve decision-making when it leads to targeted exercise selection, load modification, and retesting. In this guide, you will get a field-tested checklist for athlete mobility, clear pass-fail benchmarks, and exact corrective protocols you can apply in warm-ups, deloads, and return-to-play progressions. If you want movement quality that actually improves output, this is the joint assessment framework to use.
Why mobility screening matters more than random stretching
Mobility, flexibility, and control are not the same thing
Flexibility is passive range. Mobility is usable range with control. An athlete might have loose hamstrings on a table test and still collapse into lumbar flexion during a hinge because the hips, trunk, and nervous system cannot coordinate that range under load. That is why isolated stretching often fails to change performance.
A good screen looks for three things at once: available range, side-to-side symmetry, and movement quality. If an athlete lacks dorsiflexion, the body will usually borrow motion from the foot, knee, or trunk. If the athlete has the range but cannot control it, you will still see valgus, rib flare, or pelvic shift. Both matter for injury prevention.
What a useful functional movement test should tell you
The best functional movement test is simple, repeatable, and tied to training decisions. It should tell you whether the athlete can get into positions needed for their sport, whether pain is present, and whether the issue is local joint restriction or poor motor control. If the screen does not change exercise selection, it is not useful.
Systematic reviews consistently show that movement screens alone have limited ability to predict injury. Their real value is as a decision tool: identify restrictions, modify load, prescribe correctives, and retest.
Use screening as a filter, not a diagnosis. Pain, locking, instability, or neurological symptoms are referral signs. For day-to-day training support, pair screening with a smart warm-up, sprint volume control, and strength work. A good place to build that system is a structured dynamic warm-up for athletes that reinforces the positions you want to keep.
The ultimate mobility screening checklist for athlete mobility
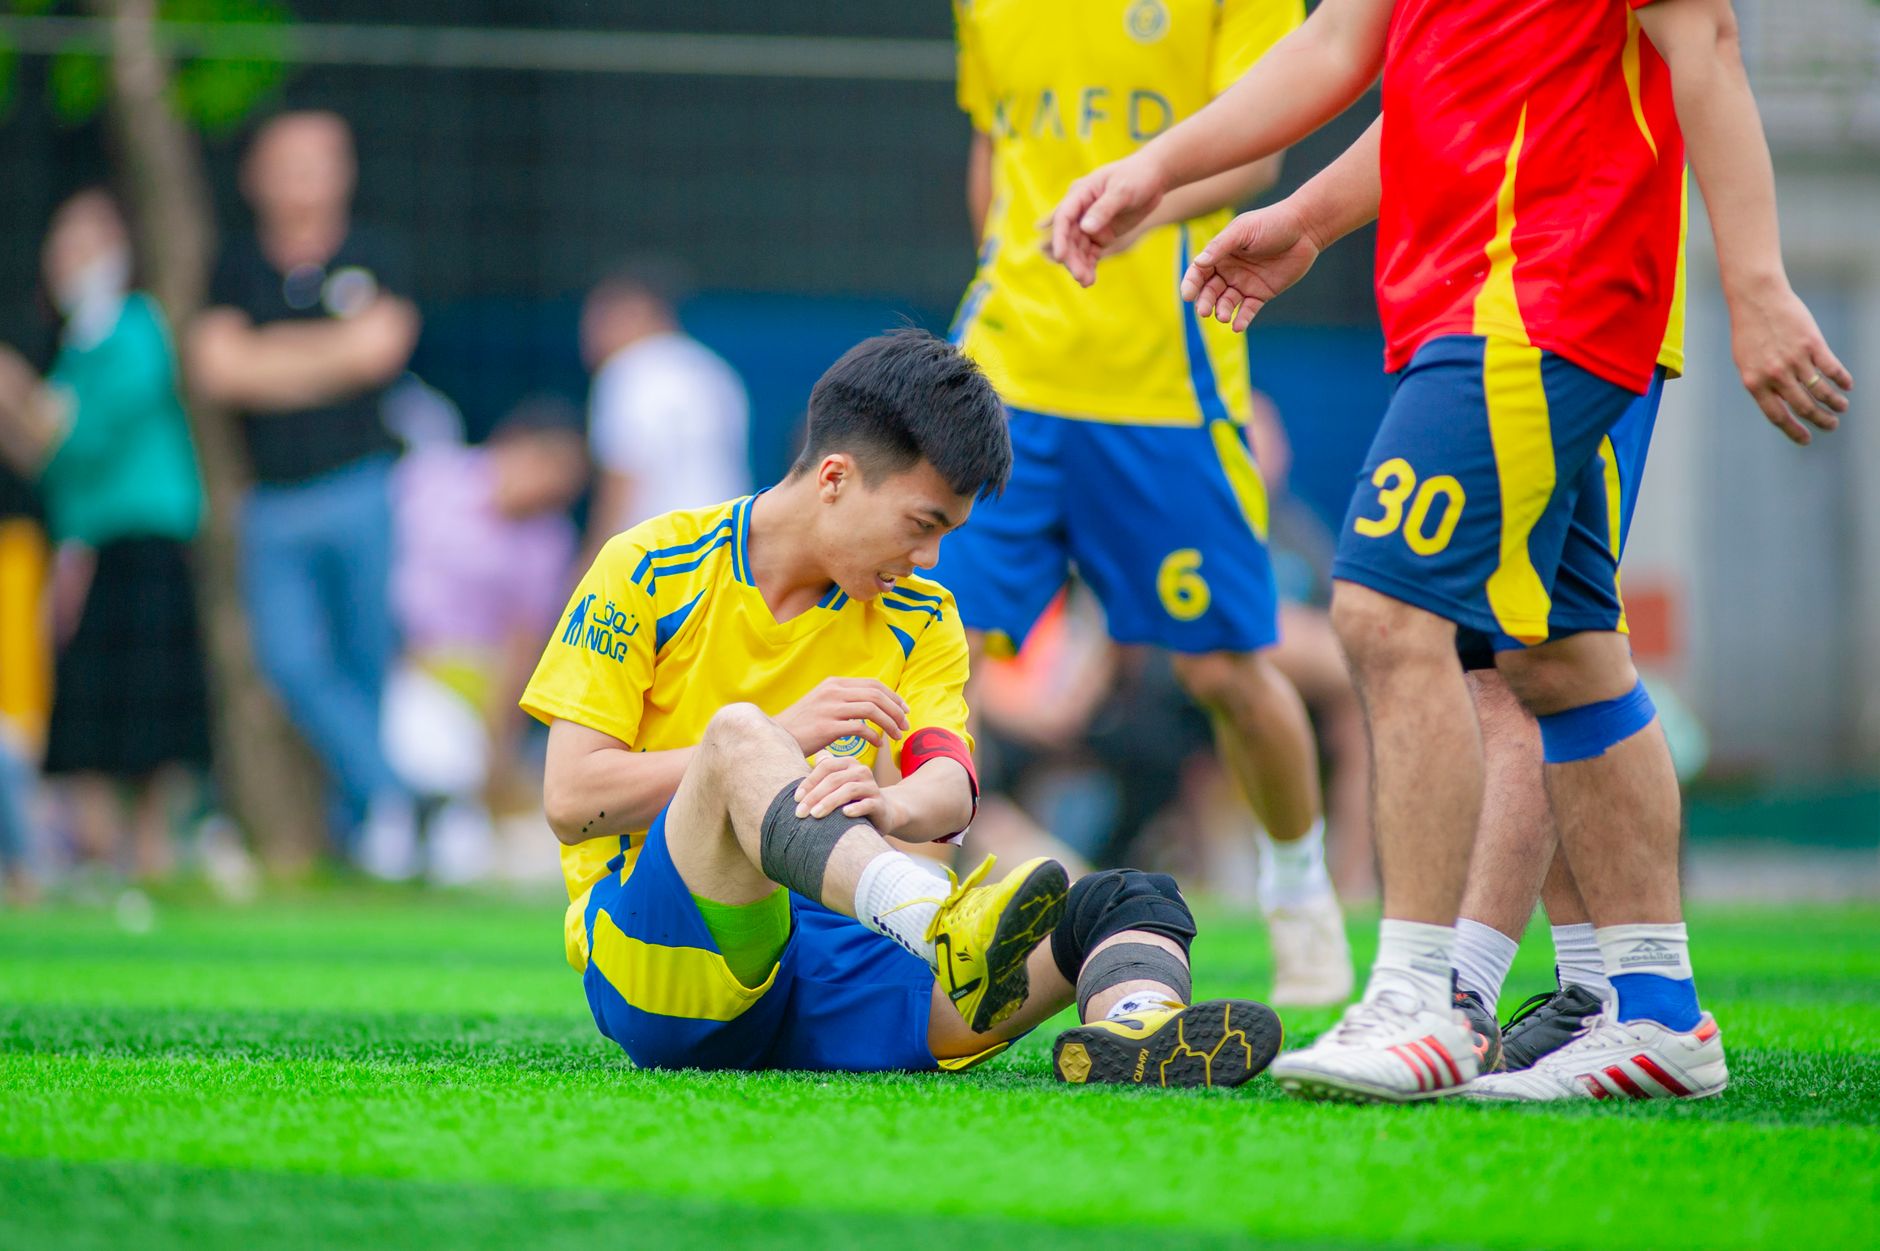
Lower-body tests: feet, ankles, hips, and single-leg control
Start with the ankle dorsiflexion knee-to-wall test. Athlete keeps heel down, drives knee to wall, and measures the farthest toe distance that still allows contact without heel lift. Flag anything under 10 cm or a side-to-side gap greater than 2 cm. Limited dorsiflexion is common in athletes with squat depth issues, Achilles overload, and repeated calf tightness.
Next, test the active straight-leg raise, hip internal/external rotation, and a controlled single-leg squat for 5 reps. For hip rotation, look for roughly 30-40 degrees internal rotation, 40-60 degrees external rotation, and total arc symmetry. In the single-leg squat, watch for knee valgus, pelvic drop, trunk collapse, and foot pronation. These are compensation patterns, not just “weak glutes.”
- Ankle dorsiflexion: under 10 cm or more than 2 cm asymmetry = flag
- Active straight-leg raise: under 70-80 degrees = flag for posterior chain or neural restriction
- Hip rotation: under 30 degrees IR or more than 10 degrees asymmetry = flag
- Single-leg squat: pain, valgus, balance loss, or heel lift = fail
Upper-body and trunk tests: thoracic spine and shoulder mobility screen
For the upper body, use an overhead squat with a dowel, thoracic rotation in half-kneeling, shoulder flexion, and a simple Apley scratch test. The overhead squat is not a diagnosis; it is a global pattern check. If heels pop up, arms fall forward, or ribs flare, you now know where to test more closely.
Thoracic rotation should be smooth and relatively symmetrical, with the athlete keeping hips stable. For shoulder flexion, test supine with ribs down and lower back neutral. If the athlete cannot get the arms near the floor without arching, flag it. For overhead and throwing athletes, this matters. If shoulder findings show up, pair your screen with targeted work like rotator cuff injury prevention exercises and monitor training volume closely.
- Overhead squat: look for heel lift, trunk lean, rib flare, arm drop
- Thoracic rotation: asymmetry greater than 10 degrees = flag
- Shoulder flexion: cannot reach overhead without lumbar extension = flag
- Apley scratch: large side-to-side difference or pain = flag
How to score your joint assessment without overcomplicating it
Use a simple 0-2 scoring model
Most coaches need a scoring system they can use in under five minutes. Use 2 = passes cleanly, 1 = completes with compensation or asymmetry, and 0 = pain or inability to complete. Pain always overrides mobility. If a test hurts, do not coach around it as if it is just tightness.
Track only the tests that matter most to the sport. A powerlifter needs ankles, hips, thoracic extension, and shoulder flexion. A baseball player needs shoulder rotation, thoracic rotation, hip rotation, and single-leg control. A sprinter needs feet, ankles, hips, and trunk stiffness. Screening is more useful when it is specific.
Know the thresholds that should change training today
There are three practical red flags: pain, clear asymmetry, and compensation under low load. Pain means stop and assess further. Asymmetry matters most when it exceeds a meaningful threshold like 2 cm at the ankle or 10 degrees at the hip or thoracic spine. Compensation matters when it shows up in basic patterns like squatting, lunging, or reaching.
If you find multiple red flags, lower the training complexity before lowering all intensity. Swap barbell overhead work for landmine press. Use heel elevation for squats while improving ankles. Reduce deceleration volume when single-leg control is poor. For athletes returning from pain, combine screen findings with a return-to-sport testing guide so mobility is not evaluated in isolation.
Corrective protocols that actually improve mobility screening scores
The 6-minute pre-lift mobility circuit
When a limitation appears on a screen, start with the smallest effective dose. A short, specific circuit done before training is often enough to restore position and reduce compensation. Use 1 mobility drill, 1 activation drill, and 1 loaded pattern for the restricted area. Total time: 6 minutes.
Example lower-body sequence: 90/90 breathing for 5 breaths, knee-to-wall ankle rocks 2 x 8 each side with a 2-second pause, split-squat soleus isometric 2 x 20 seconds, then goblet squat with a 3-second eccentric for 2 x 6. Example upper-body sequence: foam roller T-spine extension 6 reps, wall slide with lift-off 2 x 6, half-kneeling landmine press 2 x 8 each side.
The 2-week microcycle for stubborn restrictions
If a screen limitation persists for more than two sessions, give it a focused two-week block. Dose mobility 4-6 days per week, but keep the sessions short: 8-12 minutes. The goal is frequent quality exposure, not aggressive stretching. Long static stretching has value, but in athletes it should be paired with active end-range control and loaded strength work.
Use this formula: soft tissue or positional prep for 60-90 seconds, mobility drill for 2-3 sets of 6-10 reps, isometric hold for 2-3 sets of 20-30 seconds, then a loaded pattern for 2-4 sets of 5-8 reps. Ankle example: calf release, knee-to-wall mobilization, split-squat isometric, heel-elevated squat. Shoulder example: lat opener, wall slide, serratus reach, half-kneeling press. If recovery is poor, the best mobility plan may be better sleep and nutrition; Elite athletes should treat that as non-negotiable with support from a performance recovery sleep guide.
When to retest athlete mobility and how to individualize it
Retest often enough to guide training, not just to collect numbers
For most teams and gen-pop athletes, a full mobility screening every 4-6 weeks works well. Retest high-priority restrictions weekly with one or two quick checkpoints, especially after travel, schedule congestion, or a pain flare. If you changed the program, you need new data.
Retesting also tells you whether the problem is mobility, strength, or exposure. If ankle dorsiflexion improves on the table but the squat still shifts, the athlete likely needs more patterning or strength in the new range. This is why screening must live inside programming, not outside it.
Sport-specific priorities for your functional movement test battery
Not every sport needs the same checklist. Runners usually need extra attention on calf capacity, ankle dorsiflexion, hip extension, and pelvic control. Lifters need enough ankle and thoracic mobility to keep efficient bar paths. Court and field athletes need single-leg control, adductor resilience, hip rotation, and trunk rotation because cutting and deceleration expose those weak links fast.
Individual context matters too. Previous injury is one of the strongest predictors of future problems, so old ankle sprains, hamstring strains, and shoulder pain should shape the screen. If body composition, fueling, or recovery is limiting adaptation, movement quality may stagnate even with good drills. That is where support from a nutrition for high-performance training framework can help preserve mobility gains under hard training loads.
FAQ: mobility screening for athletes
How often should athletes do a mobility screening?
Use a full screen every 4-6 weeks and a micro-screen weekly for known problem areas. In-season athletes also benefit from a quick rescreen after heavy competition blocks, travel, or any new pain report.
If you only screen once per year, you will miss the movement changes that happen when training load, fatigue, and injury history shift.
Can a functional movement test predict injury by itself?
No. Research does not support any single test as a strong stand-alone injury predictor. Injury is multifactorial: workload, sleep, stress, strength, contact exposure, previous injury, and sport demands all matter.
What screening does well is identify modifiable movement constraints so you can adjust exercise selection, volume, and warm-up strategy.
Should athletes push through pain during a joint assessment?
No. Pain changes movement behavior and makes the screen less useful. If a test causes more than mild discomfort, mark it as a red flag and modify or refer rather than forcing range.
Locking, catching, numbness, giving way, or night pain are especially important signs that need medical assessment.
What is the best mobility dose before training?
For most athletes, 6-10 minutes works best: one targeted mobility drill, one activation drill, and one loaded pattern. Keep total reps low and intent high so the warm-up improves movement without creating fatigue.
Save longer stretching sessions for off days or post-training recovery blocks when the goal is tissue exposure rather than immediate performance.
Conclusion
The best mobility screening system is not the most complicated one. It is the one that reliably finds the 2-3 restrictions limiting performance, turns them into targeted correctives, and gets retested often enough to prove progress. For athletes, coaches, and clinicians, that means focusing on ankles, hips, thoracic spine, shoulders, and single-leg control, then tying every screen result to exercise selection, loading, and recovery. That is how athlete mobility, a practical functional movement test, and a smart joint assessment become real injury-prevention tools instead of just checklists.
If you want more evidence-based systems that turn science into better training decisions, visit ElitePTS for practical articles, protocols, and coaching resources built for legitimate gains.